Pet carriers are essential for safe travel, vet visits, and even emergency situations. But for many dogs and especially cats, the carrier represents stress, confinement, or an unpleasant memory. Instead of seeing it as a cozy den, they might associate it with car rides, unfamiliar places, or simply being forced inside.
The good news is that with the right approach, you can turn the carrier into a safe space your pet loves—not fears. Whether you’re preparing for a trip or just want to make daily life easier, here’s a complete guide to helping your dog or cat embrace their carrier willingly and happily.
Why Pets Often Dislike Carriers
Before we dive into the solutions, it helps to understand why your pet may resist the carrier:
- Negative associations: If the only time your pet sees the carrier is before a vet visit, it becomes a source of anxiety.
- Sudden confinement: Being picked up and placed in an unfamiliar box can feel threatening.
- Lack of exposure: Pets that rarely interact with the carrier don’t have a chance to get used to it.
- Uncomfortable interiors: Hard surfaces, strange smells, or limited ventilation can make the carrier unappealing.
By reversing these conditions and using positive reinforcement, you can help your pet build a new, positive relationship with their carrier.
Step 1: Choose the Right Carrier
A comfortable and appropriate carrier makes all the difference. Consider your pet’s size, personality, and how you plan to use it.
For cats and small dogs:
- Choose a well-ventilated, sturdy carrier with top and front access.
- Hard plastic carriers are durable and easy to clean.
- Soft-sided carriers are more flexible and cozy but may not suit pets that chew or scratch.
For medium to large dogs:
- Use a crate-style carrier with enough room to turn around and lie down.
- Look for portable crates for travel or collapsible designs for home use.
Tip: Always size up slightly—your pet should have enough room to move but not so much space that they slide around during transport.
Step 2: Make the Carrier a Regular Part of Home Life
Instead of storing the carrier in a closet and pulling it out only during emergencies, keep it out in your home.
Place the carrier:
- In a quiet, low-traffic area your pet enjoys
- Near their favorite sleeping or lounging spot
- In a space where they can explore it on their own terms
Leave the door open and allow your pet to go in and out freely. This step alone can change their perception of the carrier from “scary box” to “normal object.”
Step 3: Create a Comfortable Interior
Transform the carrier into a cozy den using soft materials and familiar scents.
Add:
- A soft blanket or towel your pet already uses
- A piece of your clothing (like a worn T-shirt) to add your scent
- Their favorite toy or a small pillow
For cats, consider using a synthetic calming pheromone spray (like Feliway) on the bedding to promote relaxation.
Step 4: Use Positive Reinforcement
Now it’s time to build positive associations with the carrier.
For cats and dogs:
- Toss treats inside and let your pet go in to retrieve them
- Feed meals near or inside the carrier
- Play games around the carrier to associate it with fun
- Praise and reward any interaction with the carrier, no matter how small
Never force your pet inside, as this undoes the trust you’re trying to build.
Step 5: Practice Short, Non-Stressful Sessions
Once your pet is comfortable going inside voluntarily, begin short sessions with the door closed.
Steps:
- Let your pet enter on their own
- Close the door for a few seconds while offering a treat through the door
- Open it again and allow them to come out
Gradually increase the duration, always making it a calm and positive experience. If your pet panics, take a step back and try again later.
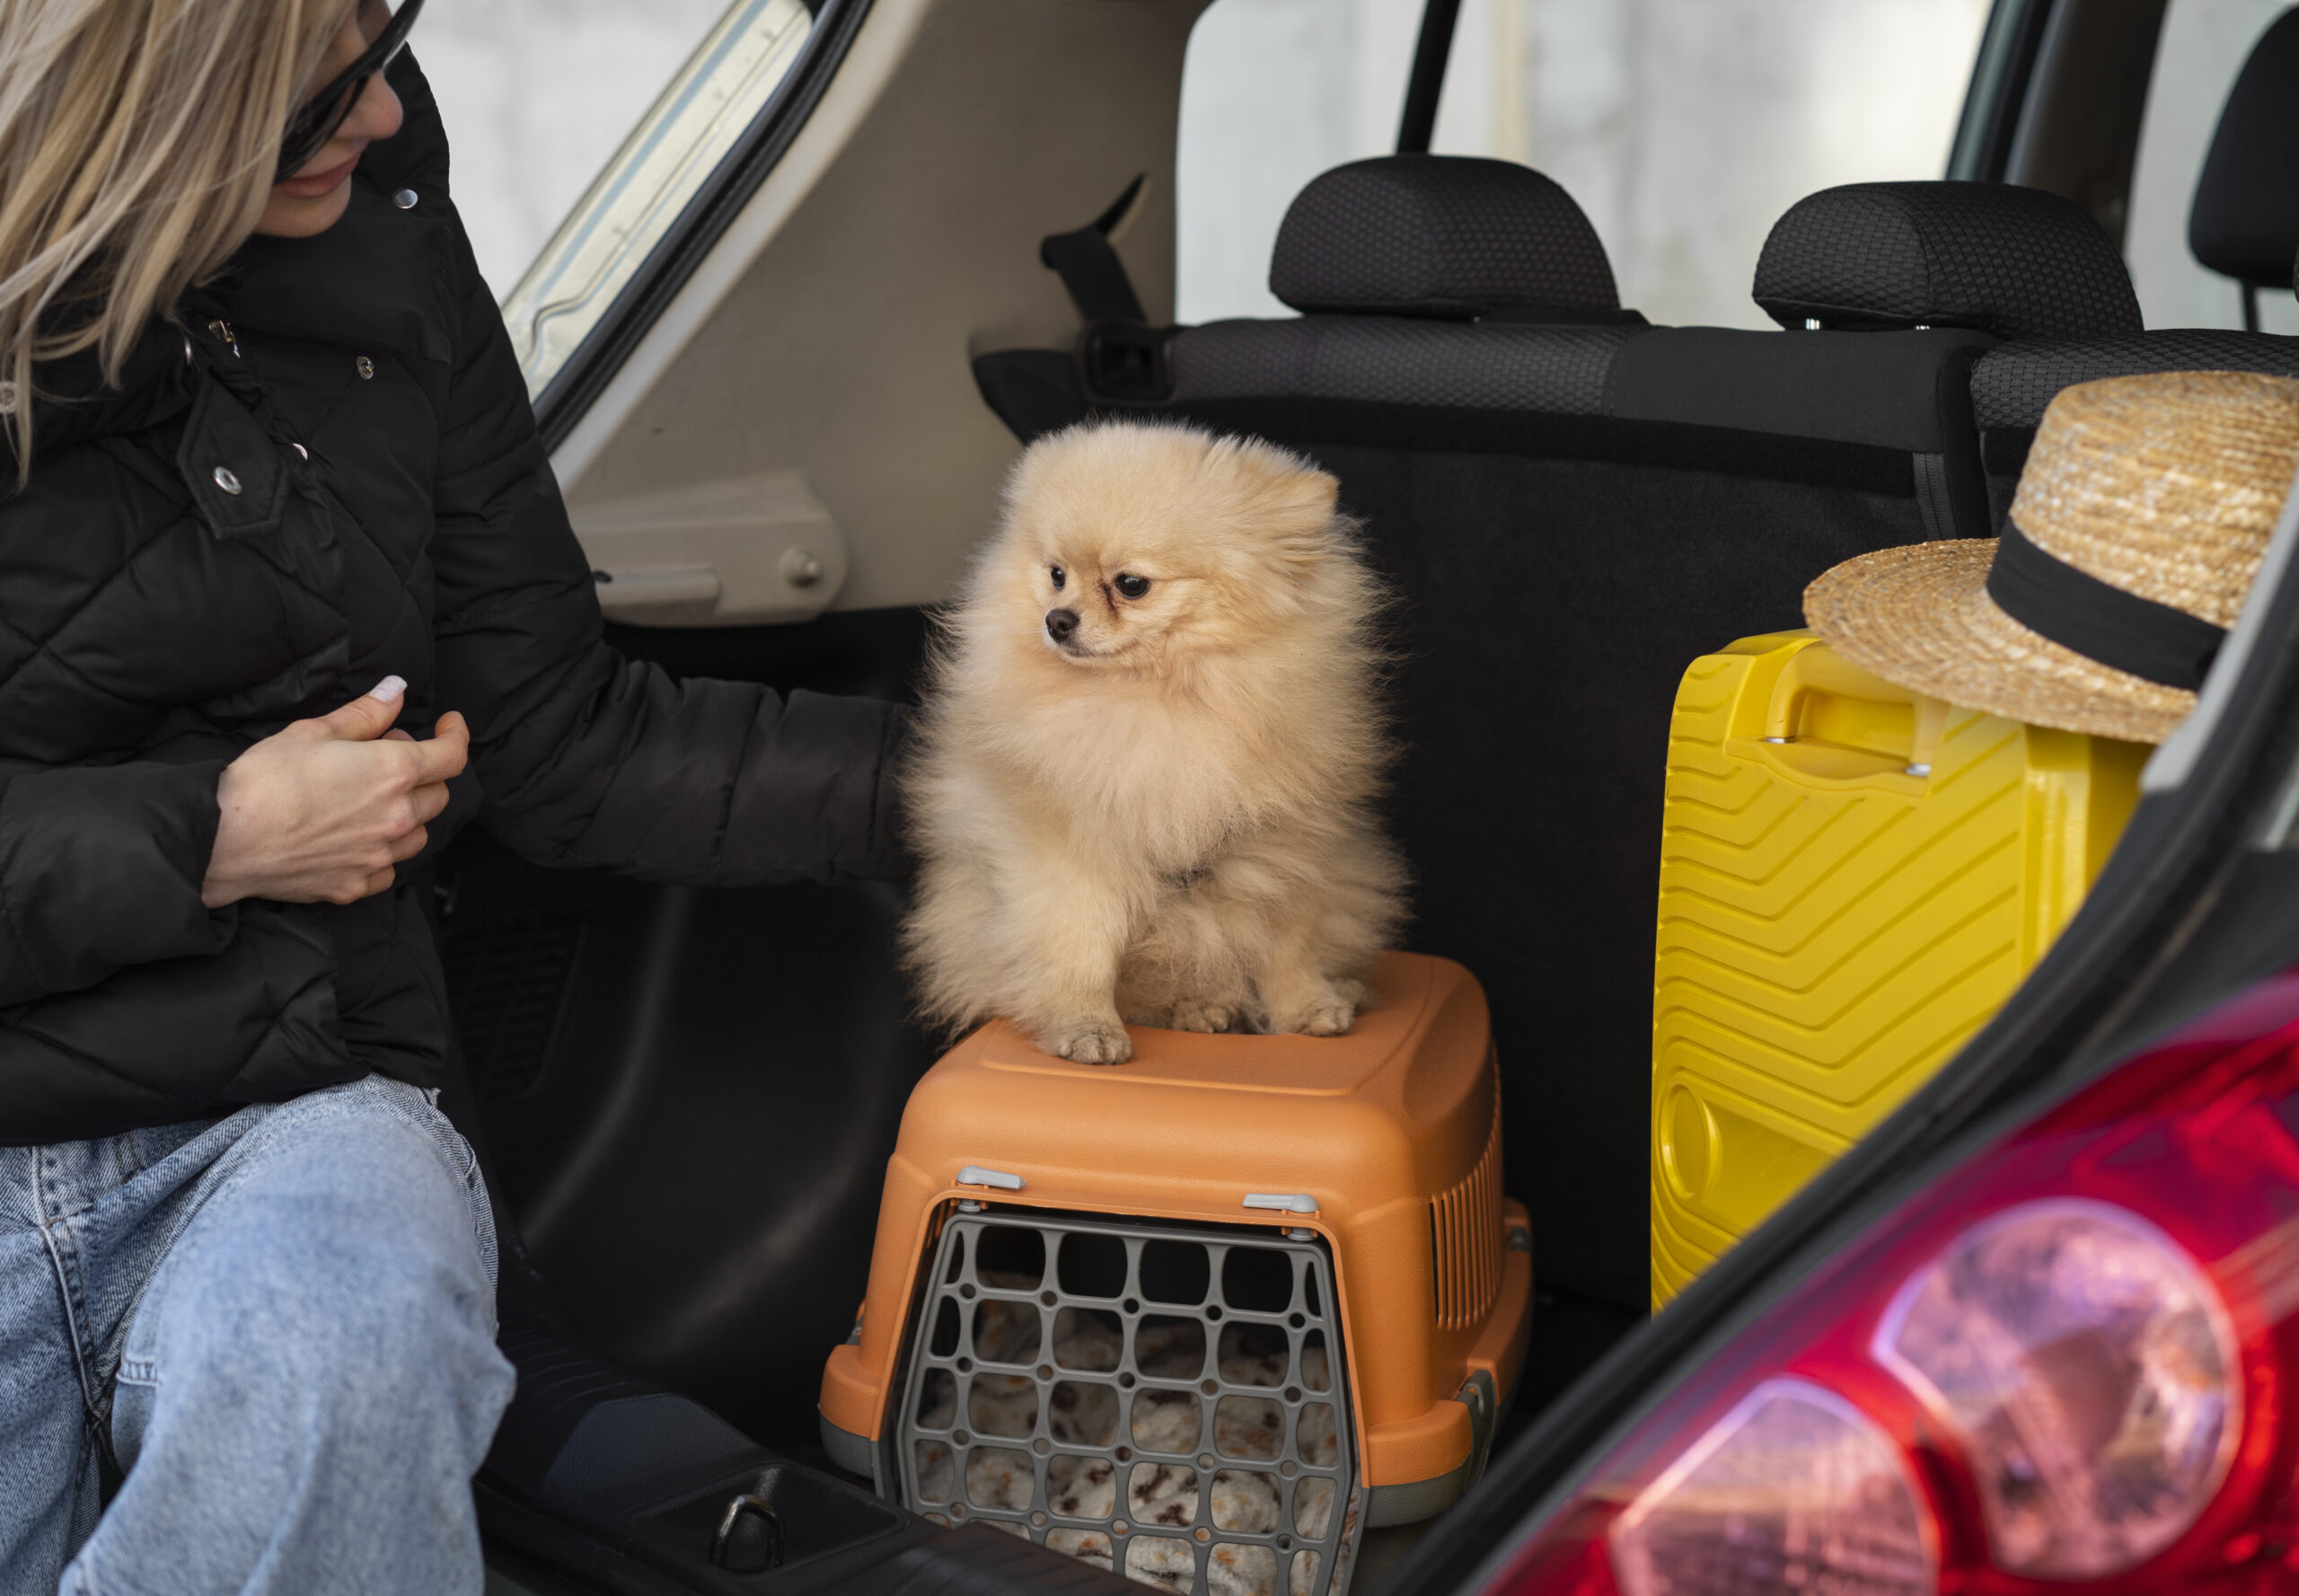
Step 6: Take Practice Rides (for Travel Use)
If you’re planning to use the carrier in a car or plane, start getting your pet used to motion.
For dogs and cats:
- Carry the carrier around the house for a few minutes
- Take a short drive with your pet inside
- Talk to them gently and calmly during the ride
Reward your pet after each successful ride to create a routine they associate with positive outcomes.
Step 7: Use the Carrier During Relaxed Moments
Try using the carrier during nap time or quiet moments—not just when it’s time to leave the house.
Ideas:
- Put treats inside while your pet is already relaxed
- Place the carrier near a sunny window or quiet corner
- Let your pet choose the carrier as a hiding or sleeping place
This helps shift the narrative from “this means we’re leaving” to “this is just part of my day.”
Step 8: Be Consistent and Patient
Every pet is different. Some may adjust in a few days, while others take weeks. The key is to stay patient and consistent. Avoid using the carrier only during high-stress situations, and instead let it become a regular part of your pet’s life.
Common Mistakes to Avoid
🚫 Forcing your pet inside suddenly
🚫 Using the carrier only for vet visits
🚫 Leaving the carrier dirty or with strong smells
🚫 Skipping positive reinforcement
🚫 Rushing the process
Building trust takes time—but once your pet sees the carrier as a safe place, travel and vet visits will be so much easier.
When the Carrier Becomes a Safe Haven
With time, the carrier can become more than just a transport tool—it can be your pet’s go-to safe space. Whether they need a cozy place to nap, a shelter during thunderstorms, or a familiar scent in a new environment, the carrier can offer comfort and security.
Start today by placing the carrier in a visible, relaxed space and watch your pet’s curiosity grow. Soon, they may not just accept the carrier—they might choose it.