The litter box is one of the most important parts of your cat’s daily routine—but it can also become one of the most unpleasant if not maintained properly. A dirty or smelly litter box isn’t just uncomfortable for you—it can also lead your cat to avoid using it altogether, causing hygiene issues and stress for both of you.
In this article, you’ll learn practical, effective, and affordable ways to keep your cat’s litter box clean, odor-free, and inviting every single day—ensuring both a happy cat and a fresh-smelling home.
Why a Clean Litter Box Matters
Cats are extremely clean animals by nature. They will often refuse to use a litter box that’s dirty, too full, or smells bad. A poorly maintained box can result in:
- Litter box avoidance
- Accidents outside the box
- Unpleasant odors in the home
- Potential urinary or digestive issues
- Stress and anxiety in your cat
Maintaining cleanliness isn’t just about comfort—it’s about your cat’s health and well-being.
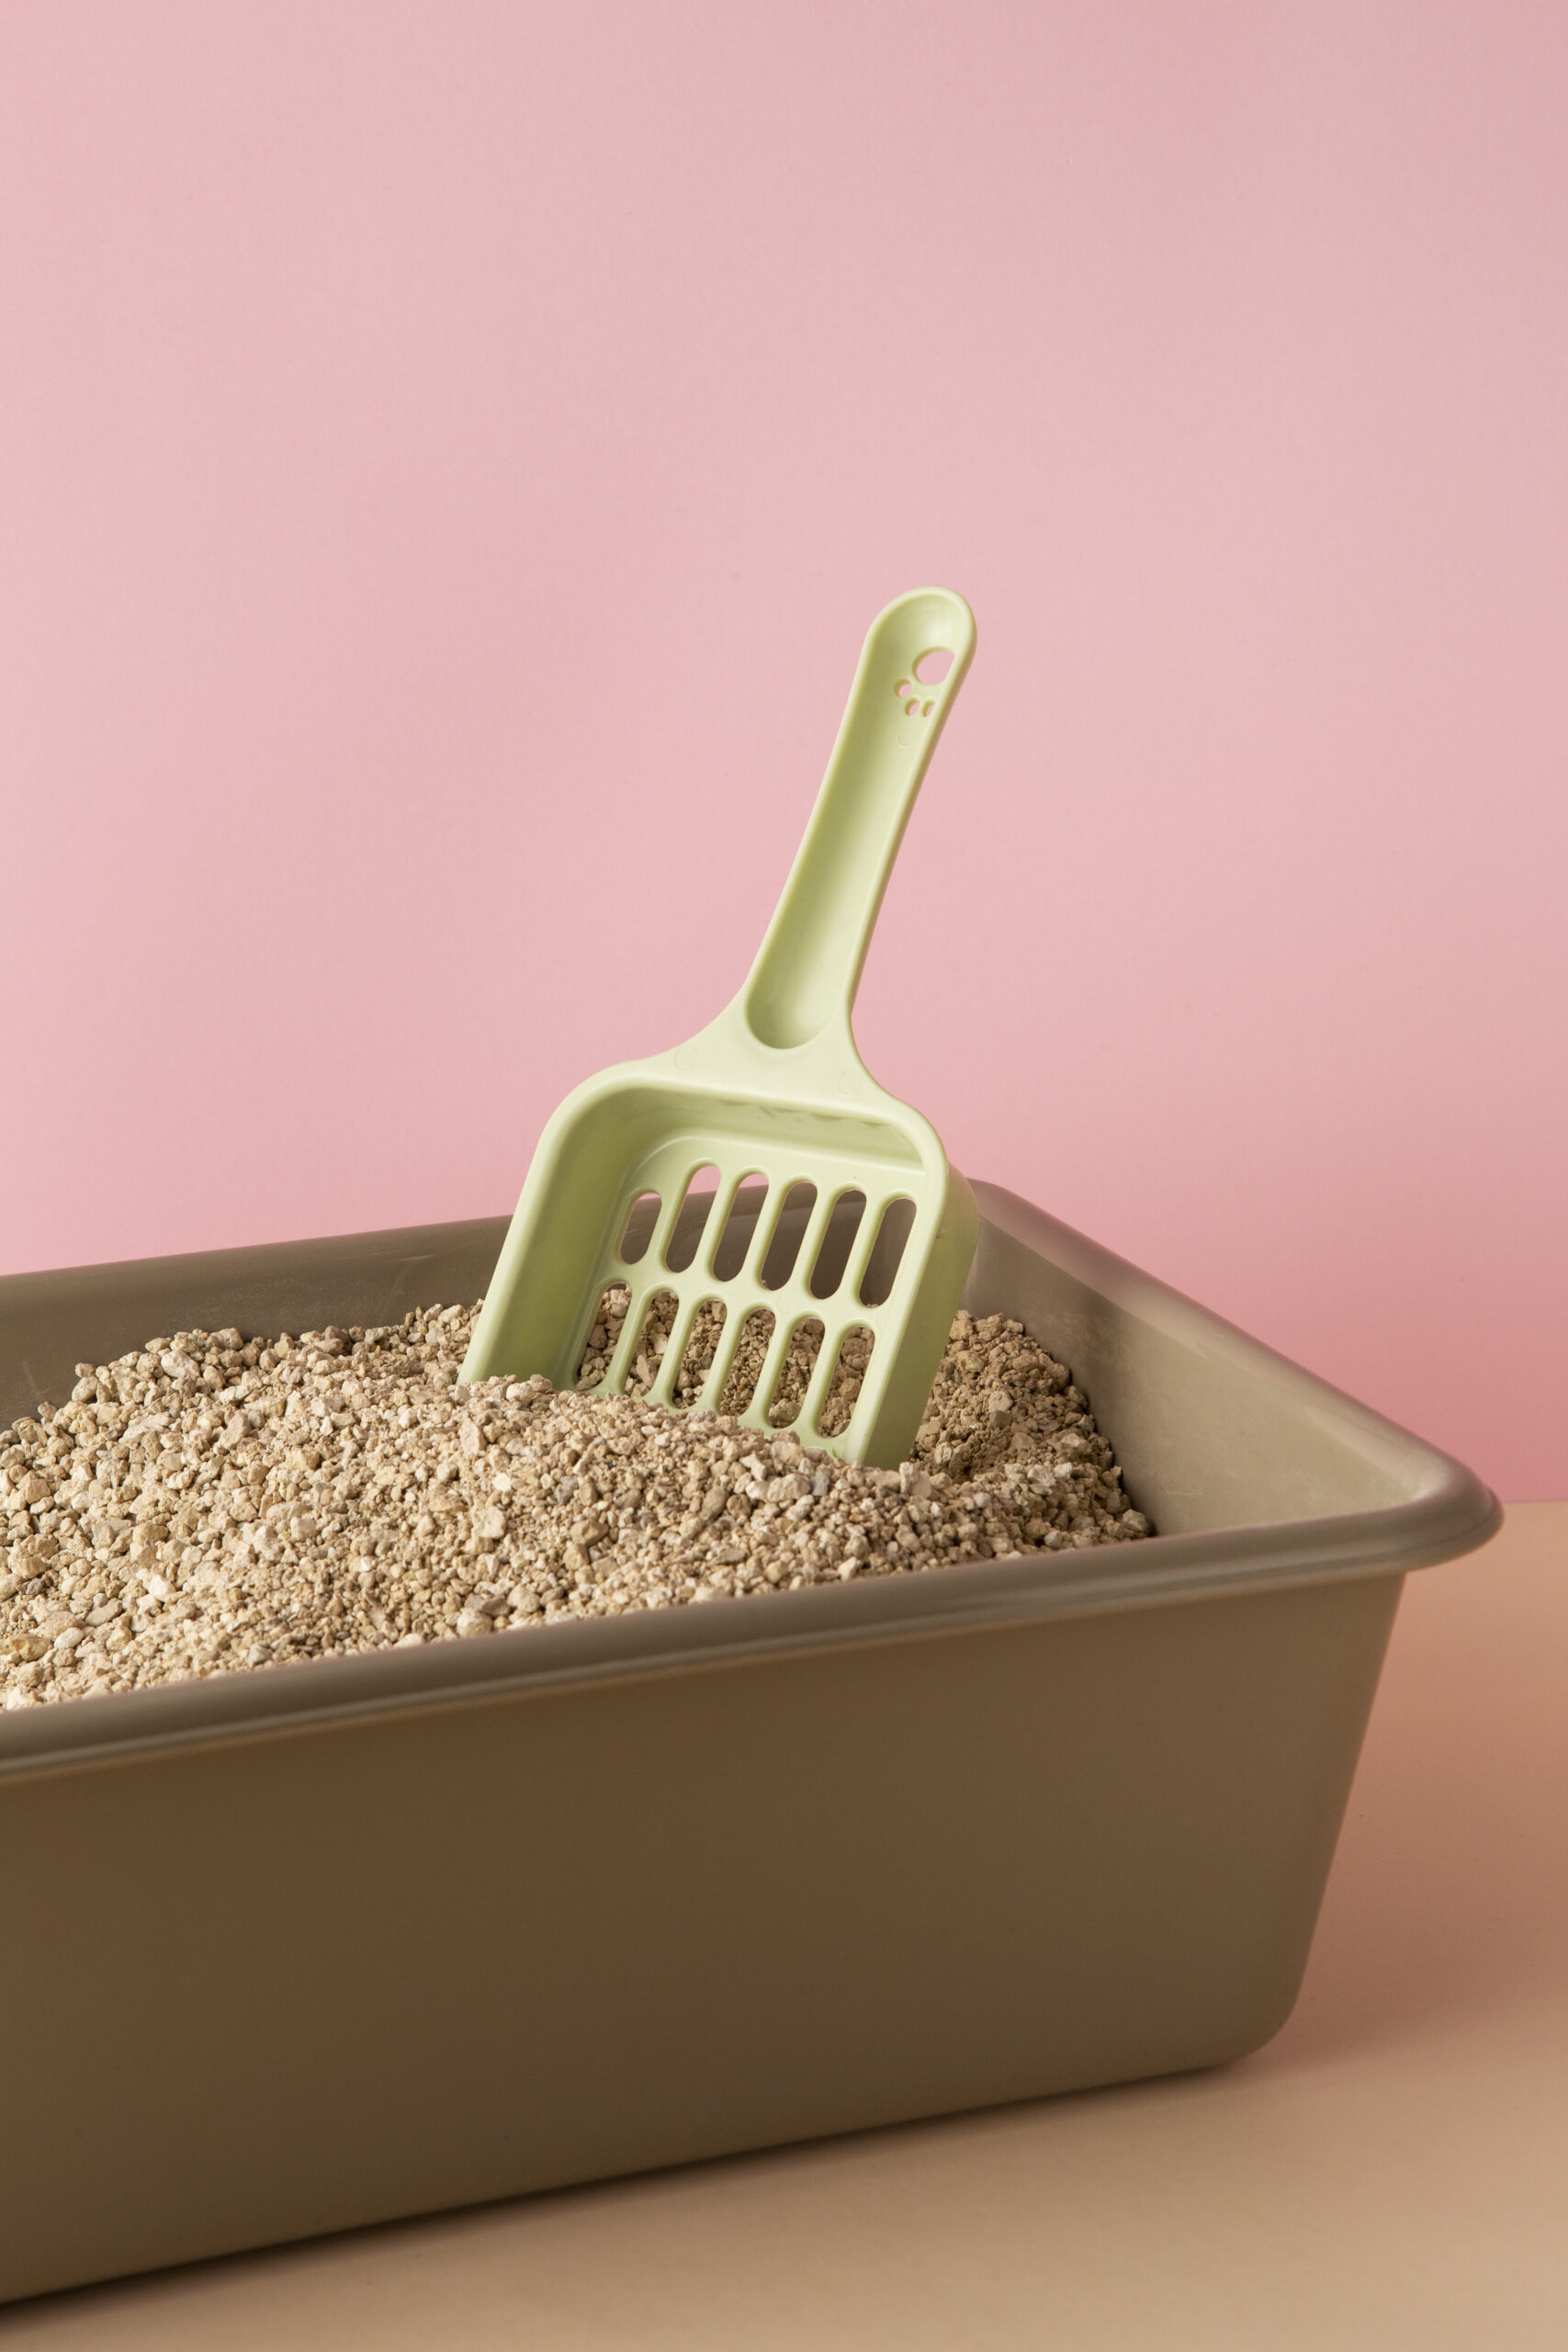
1. Scoop the Litter Daily—Without Fail
The most effective way to keep the litter box clean and fresh is simple: scoop it every day, ideally twice a day.
- Remove clumps and solid waste in the morning and evening
- Use a dedicated scoop with fine slats to catch smaller clumps
- Dispose of waste in a sealed bag or trash can with a lid
Daily scooping prevents odor buildup and keeps the litter pleasant for your cat to use.
2. Choose the Right Litter
Not all litter is created equal. Some litters control odor better than others and may suit your cat’s preferences more effectively.
Consider the Following:
- Clumping litter makes it easier to remove waste without replacing the entire box
- Unscented litter is often preferred by cats (strong fragrances can be overwhelming)
- Natural or biodegradable options like wood pellets or corn litter can also control odor well
- Activated charcoal-infused litter helps neutralize smells naturally
Try different types to find what works best for both you and your cat.
3. Use the Right Amount of Litter
Too little litter means waste can reach the bottom of the box and stick, while too much can lead to messes outside the box.
- Maintain a 2-3 inch layer for most litters
- For clumping litters, 3-4 inches may be better to allow thorough burying of waste
- Refresh the depth after each full clean
The correct amount makes scooping easier and prevents odors from lingering.
4. Fully Replace Litter Weekly
Even with daily scooping, you need to replace all the litter and wash the box at least once a week.
Here’s how:
- Empty the old litter completely
- Wash the box with warm water and mild, unscented soap (avoid bleach or strong chemicals)
- Dry thoroughly before adding fresh litter
- Sprinkle a small amount of baking soda at the bottom before adding new litter for odor control
This weekly reset keeps bacteria and smell from building up.
5. Choose the Right Litter Box Location
Where you place the litter box matters for both cleanliness and odor management.
Ideal placement:
- In a quiet, low-traffic area
- Away from the cat’s food and water
- With good ventilation or airflow
- Not near laundry machines or noisy appliances
Avoid tight or closed spaces with no airflow—these can trap odors and make the box uninviting.
6. Use Multiple Litter Boxes if Needed
If you have more than one cat, you must have more than one litter box.
- The general rule is one litter box per cat, plus one extra
- Spread them out around the house, not all in one room
- This prevents territorial disputes and litter box overcrowding
Overused litter boxes get dirty faster and smell worse—adding extra boxes can help tremendously.
7. Consider a Litter Mat
Litter tracking can create a mess around the box and spread particles that cause odor.
- Place a litter mat in front of the box to catch stray litter
- Choose a mat with grooves or texture to trap particles from your cat’s paws
- Shake it out or vacuum it weekly
This small addition helps keep the area tidy and your floors cleaner.
8. Monitor for Unusual Odors or Changes
If you notice that the litter box smells more than usual—even after cleaning—pay attention. This could indicate:
- A need to change the type of litter
- The box itself has absorbed odors and needs replacing
- Your cat has a health issue affecting urine or feces smell
Plastic boxes can absorb smells over time. Consider replacing them every 6–12 months for best hygiene.
9. Avoid Overpowering Deodorizers
While it’s tempting to use strong deodorizers or scented sprays, many cats dislike these scents and may avoid the box.
Better alternatives:
- Baking soda (mix lightly into the litter)
- Charcoal litter box liners or filters
- Litter brands with built-in odor control
- Ventilated box covers (if your cat is okay with them)
Always prioritize what makes your cat feel comfortable using the box.
10. Stay Consistent with Cleaning
Cats thrive on routine. Set a regular schedule for scooping, changing, and cleaning.
- Scoop: daily
- Top up litter: every 2–3 days
- Full change & wash: once per week
- Wipe down surrounding area: every few days
You can set calendar reminders or pair litter box cleaning with another daily task to make it a habit.
A Clean Litter Box Is a Happy Cat
By maintaining a clean, odor-free litter box, you’re doing more than just protecting your home from smells—you’re showing respect for your cat’s hygiene needs and improving their quality of life.
Remember, a little daily effort goes a long way. Your cat will thank you with better behavior, better health, and a more relaxed attitude—and your home will smell fresher, too.